
This tutorial will guide you on how to install and setup WordPress in DigitalOcean VPS. This guide is helpful for beginners to intermediate level website designers and bloggers.
WordPress Overview: WordPress is the most popular CMS (Content Management System) used by Bloggers and Web developers. For a detailed overview check this link WordPress review.
DigitalOcean Overview: DigitalOcean is one of the popular cheap cloud hosting providers with high user ratings. The cheapest server starts from $5/mo. For a detailed overview check this link DigitalOcean review.
Installing WordPress on DigitalOcean VPS [Step by Step Guide]
Follow the steps for setting up WordPress on DigitalOcean Cloud VPS
Login to your DigitalOcean account and if you don’t have one already then signup for a new account with this link. You will get $50 credit if you signup with this link.
- Create a Project
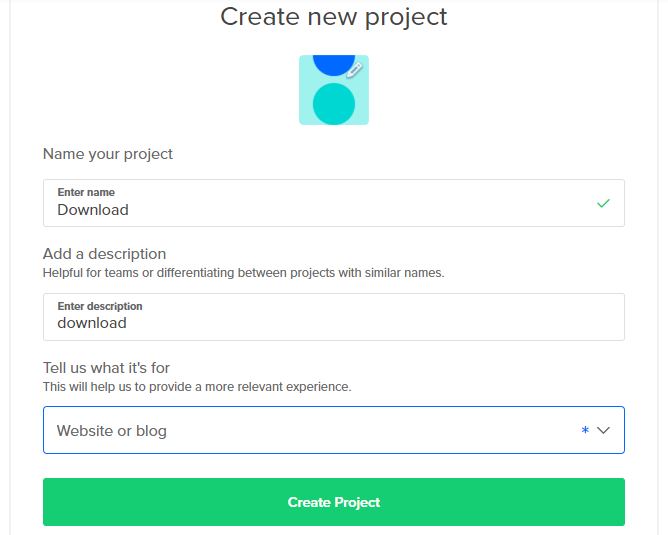
The very first thing is to create a project. If you are working as a team it helps to identify the droplets. There can be multiple droplets under one project. Once you are logged in, On the homepage, you will see a New Project button on the left side. Click on it. You can give any name to your project. Fill in the information and click on Create Project.
- Create a droplet
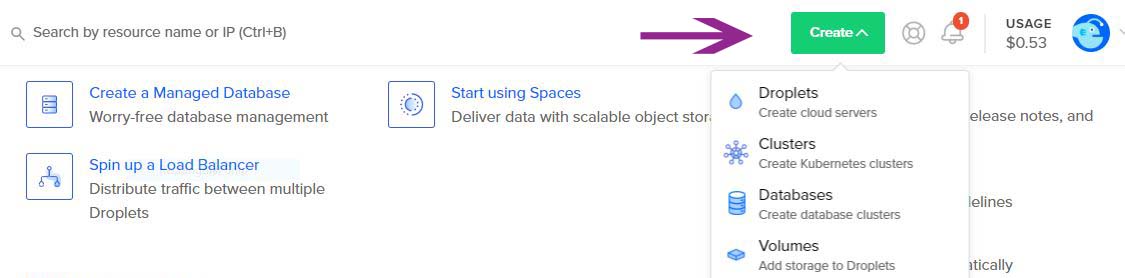
After creating a Project its time to start creating a droplet. On the homepage, you will see a create button on the top right corner. Click on this button and select Droplets.
- On the next screen, you will be asked to choose an image for creating a droplet
Here you will click on the 3rd menu that is Marketplace.

- Under Marketplace you will see WordPress
Select WordPress and scroll down
- Choose a plan
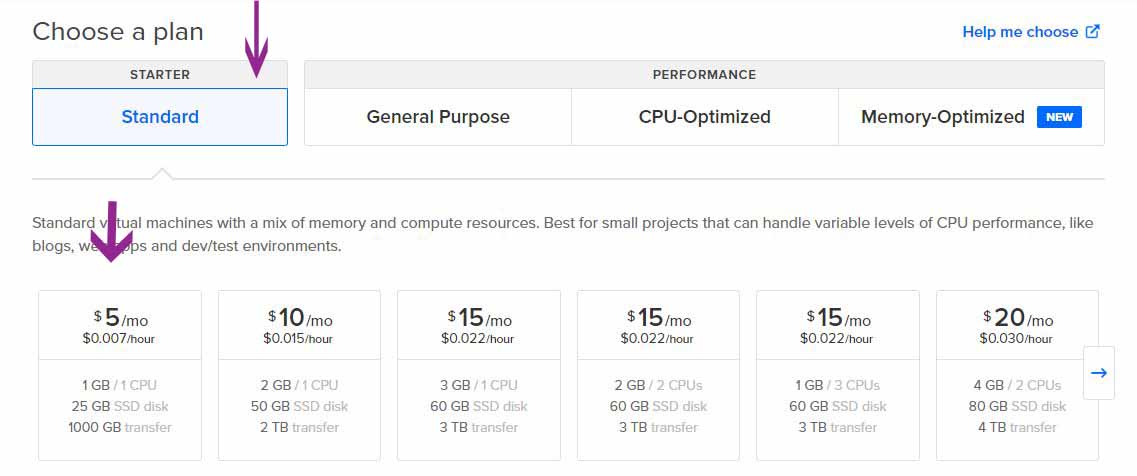
Select the STARTER Standard plan and scroll down. You will see a lot of droplets here of different prices click on the left arrow to go to the cheapest droplet that is priced at $5/mo.
- Add Volume
After selecting the droplet size scroll down. You will be given an option to add Volume. $5/mo droplet comes with 25 GB of space, if you need more space you can add here for extra charges as low as $10/mo for 100 GB. But you don’t need to add extra space if you are going to run a simple blog. So you can skip this step.
- Choose a Datacenter region
Here you can choose your server location according to your website visitor’s location. That helps in fast loading of the website to the users located near to your server location. There are 8 different locations available for deploying a server.
- Select ADD-ONS
You will get 4 add-ons options to choose from here. We just need the one that is monitoring(free of cost). Monitoring helps in alerting you when there is an issue with your server.
- Finalize and Create your droplet
Here you can select how many numbers of droplets you want to create with the same configuration. You can also give a name to your droplet to identify it later. Select a Project name under which you want to create this droplet.
Finally, click on Create Droplet. It will take up to 5 minutes. - Now your Droplet is created and ready to explore
Click on the droplet name to expand it. Here you will see a long menu list on the left side.
- Droplet Credentials
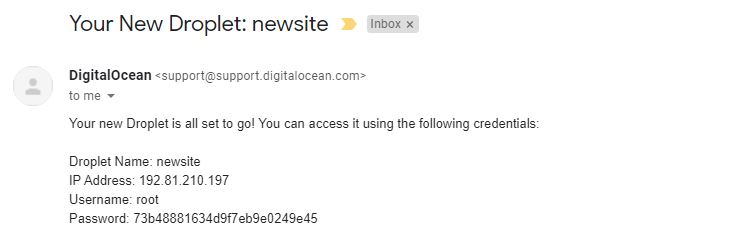
The credentials for your droplet is sent to your DigitalOcean account email address. Check your inbox and you will see an email from DigitalOcean, which contains your droplet login information: username and password.
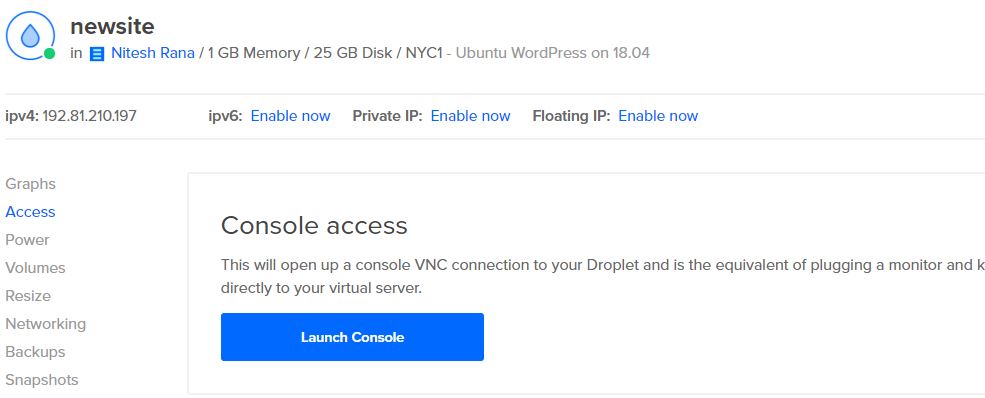
- Accessing your droplet
Go back to your DigitalOcen account and click on the droplet name. From the menu click on Access. You will see Launch Console. Click on it.
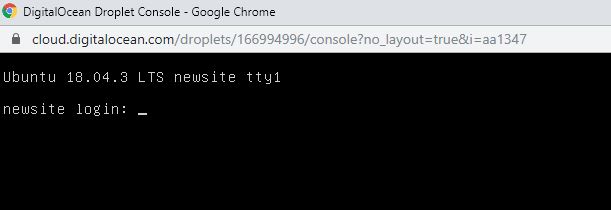
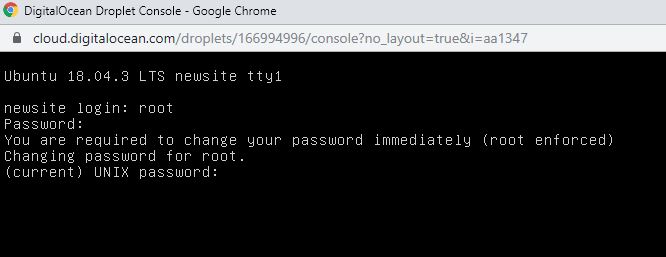
- Droplet Login
Here you will see a black color window as shown in the picture. It is asking for a login. Enter your droplet username which you received in your email. In our case it is root.
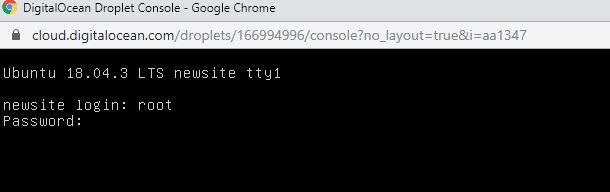
- After entering the username it will ask for a password
As shown in the picture it is asking for a password now. Enter the password you received in the email. You can copy and paste it here.
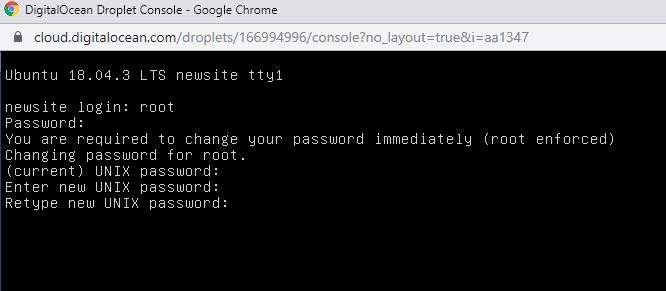
- Once you enter the correct password it will ask you to change the password.
- Again you need to enter the old password one more time which you received in the email.
After that, it will ask you to enter a new password which you will use next time to log in. Enter the new password one more time.
- After a successful password reset it will ask you for a Domain Name.
Here you need to enter your website domain name which you registered for this site. you can also use a subdomain. In our case we used niteshrana.com

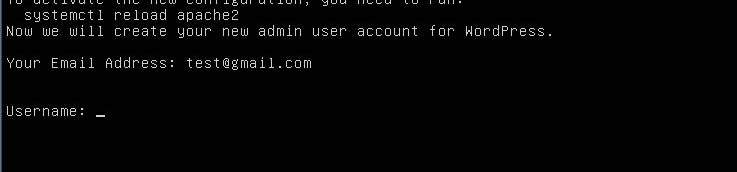
- On the next screen, it will ask you to enter the email address for your WordPress site.
Use an email address where you want to receive your WordPress site alerts. This email will be your WordPress admin account email.

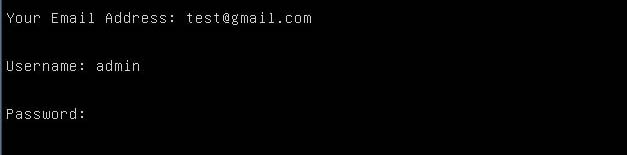
- Now enter your WordPress username which will be used fo login
You can choose any name.
- After the username, it will ask for a WordPress password
Enter a complex password which is hard to guess.
- Now you will be prompted for a Site Title
You can enter any title. This can be changed later.
- Install Free SSL certificate
It gives you an option to install SSL certificate on your website which is free of cost for a lifetime. Before installing an SSL certificate make sure your domain points to your droplet IP address. For a tutorial on pointing the domain to your server check this link.
You will be asked, “Would you like to use Letsencrypt to configure SSL for your new site”?
Type y and hit enter key.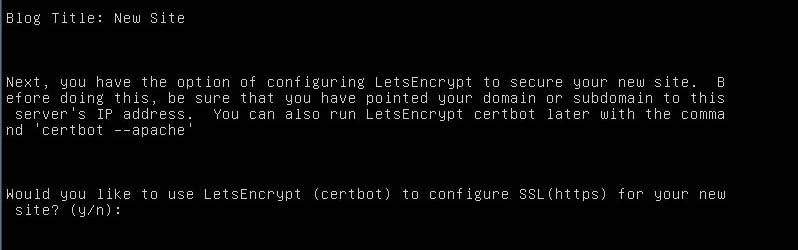
- Enter your email address to receive an SSL renewal alert.
You can use any email address. In our case, we have used test@gmail.com

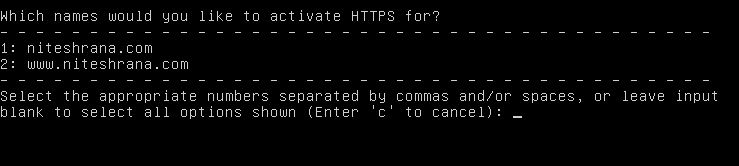
- Now it will ask you to choose domain option
AS shown in the picture there are two options: 1.niteshrana.com 2.www.niteshrana.com. Type the corresponding number or leave blank and hit enter to install on both the options.
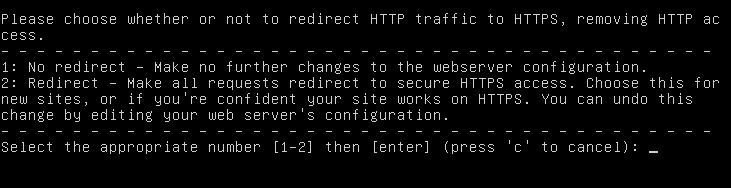
- Now it will ask for a redirect
If you want to redirect http to https automatically type 2 and hit enter.
- WordPress Installation Successful
Now you will see a message of successful WordPress installation.
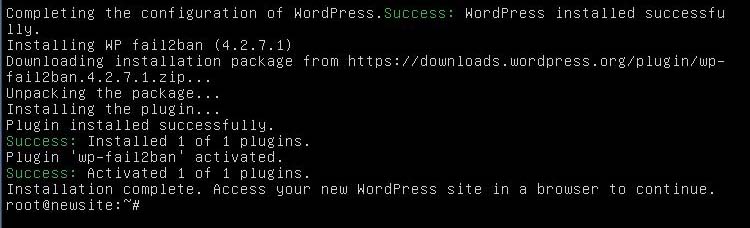
- Now your WordPress site is live.
You can open your WordPress website in your web browser.
For admin panel use this link http://yoursite.com/wp-admin

Leave a Reply