In this tutorial, you will learn how to install a free SSL certificate on Godaddy hosted websites. You can also install this free SSL certificate on websites hosted with other providers like Bluehost, Hostgator, etc. SSL improves your site security and encrypts the sensitive data from a client to a server.

Many Hosting companies provide free SSL certificates but with a 1-year free offer only and after that, they charge a huge amount for the same SSL. This can really burn a hole in your pocket if your website is not a money-making machine.
To help small website owners and bloggers who are low on the budget LetsEncrypt provides free SSL certificates to enable HTTPS on their websites. Anyone can use LetsEncrypt SSL on their website by just verifying domain ownership.
Steps to install a free SSL certificate on Godaddy
- Go to this website sslforfree.com
Visit this website SSLforFree. Type your domain in the text box for which you want an SSL certificate. Click on create free SSL.

- Domain Verification
Select the first option that is Automatic FTP Verification. After selecting the first you will need to fill up the FTP details in the text box given below.

- Create an FTP account
If you do not have an FTP account already then create a new FTP account. For this go to your hosting cPanel. Under the File Module click FTP Accounts.

- Create FTP user
Create FTP user as shown in the picture below

- Fill in the details asked in STEP2.
Once you enter the correct FTP details and click on Download Free SSL it will upload the verification files to your server and if the verification goes successful you will see this message as shown in the picture.

- Certificate Successfully Generated
Your SSL certificate is ready to download. You can also create your account on this website to keep the track of your SSL renewal. You need to renew your SSL every year.
- Save the Certificate
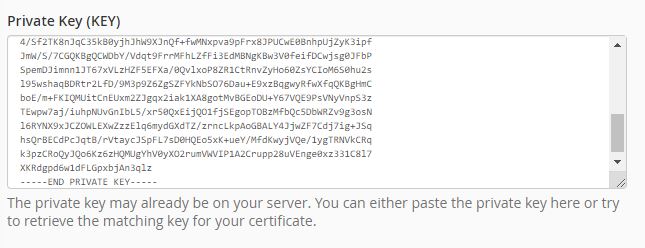
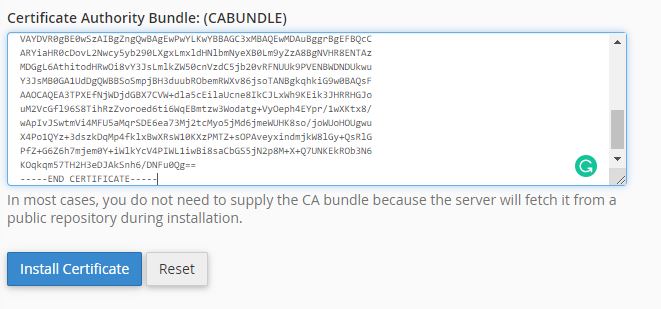
There are 3 text boxes. The first box contains the Certificate. The second contains the private key and the third box contains the CA bundle. Copy the content to a safe place you will need it in the next step.

- Open SSL setting
Go back to your Hosting cPanel. Under the Security module click SSL/TLS.

- Install SSL Certificate
Select the last option that is Install SSL and Manage SSL for your site

- Select domain
Select the domain for which you generated the SSL certificate. Paste the Certificate you copied in the previous step.

- Paste the private key
Paste the private key copied in the previous step.

- Paste the CA bundle
Paste the CA bundle and click on Install Certificate.

- SSL certificate successfully updated
You will see the successfully installed message if everything goes right. Now you can access your website over https.

I hope this tutorial will help you in easy installation of free SSL on your Web Hosting or Server. You can also use this SSL with your WordPress site. Also, check out our tutorial on how to install and setup WordPress on Godaddy


Leave a Reply