Regardless of the computer that you’re using, it has a specific pre-installed system. As you know, Apple and Windows are the most popular operating systems. All desktops and laptops have either of these two systems on them by default. But, that doesn’t mean you have to stick to them. You can use any other compatible system on your computer as well.
Looking to install another operating system on your device? Then, you can proceed with that right now without any delay. Moreover, you won’t even have to get rid of the default system for doing that. Follow the steps we’ve mentioned below to successfully boot another system on your computer.

Arrange for the Requirements
Before you proceed, you must make sure that you have accumulated all the required tools and configurations. To install another system on your laptop, you need your device to function properly. Otherwise, you won’t be able to complete the installation. So, search “laptop repairing shop near me” on the web and contact a reputable laptop technician. Get all the issues with your device fixed before you proceed.
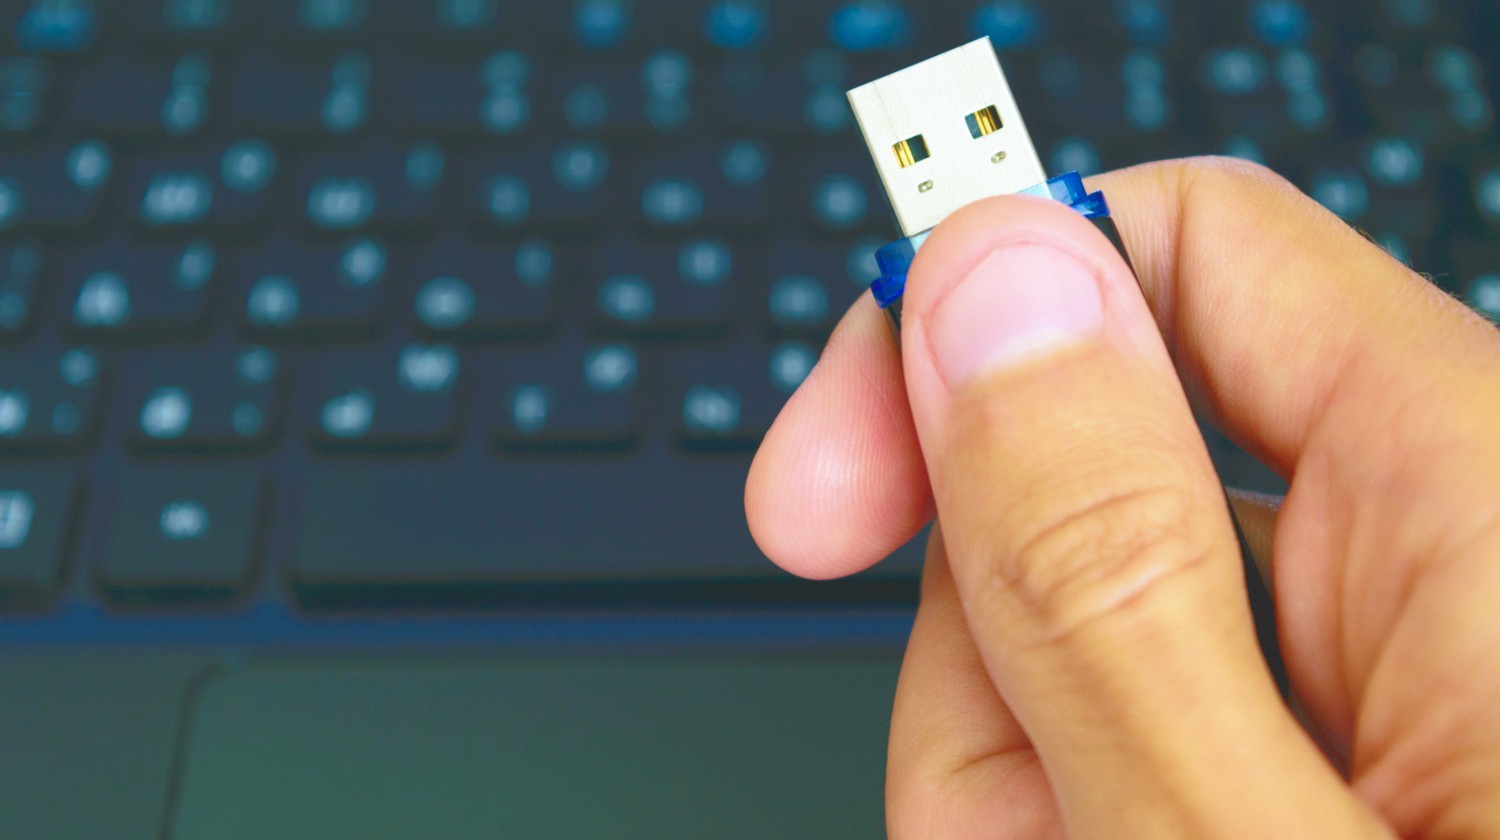
Apart from that, you don’t need much for using another system on your PC. Simply arrange for a USB disk with about 20GB of free space. Depending on the system you want to install, you can also use a smaller sized drive.
Prepare a Bootable Drive
Using a USB drive is the simplest way to install another system on your computer. But, you need to create a bootable media for that first. Also, you must choose the right software for your device after careful consideration. Then, proceed with the following steps for creating bootable media:
1. Download the Disk Image of the New Software
You have many options to choose from when it comes to a suitable system for your computer. The most popular ones include Linux and its various distribution software. Go to the official website of the one you want to download. Then, look for the ISO image files of the software and download a compatible version.
2. Create Bootable USB Using a Software Tool
Once you’ve downloaded the ISO image, you’re ready to create a bootable USB drive. And, for that, you’d need to use a suitable software tool. You’ll find many reliable programs out there for that. Install the one you prefer and open the program. With the USB drive in the port, opt for creating bootable media on it. And, for that, you need to select the drive and then the ISO file. Wait while the process runs and proceed with the next step when it’s done.

Backup Your Important Data
Before you create a partition, there’s yet another important step you must take. Has it been a while since you backed up your important data? Then, you must back up the latest files you added before installing another system on your device. And, that would keep your files safe in case anything goes wrong during the installation process. You can also look for a reputable laptop repairing shop near me to seek assistance if you lose your data.
Create a Partition on Your System Drive
Once you’ve prepared the bootable USB, you must create a partition on your drive. Also, this is a necessary step that would make organizing your data easier. Apart from that, it would also keep your data safe if the operating system is corrupted.
Most importantly, it would let you run more than one system on your computer. So, here’s how you need to proceed with this step in Windows systems:
1. Select the System Drive from the Disk Management
To create a partition, you need to go to the Disk Management page on your PC. You’ll find all the drives connected to your device listed there. Do you see any drive missing from the Disk Management page? Then, try restarting your device to fix the issue. If the issue persists, search “laptop repair shop near me” and find a reliable repair service. Right-click the system drive, which is usually the C-drive, and opts for the Shrink volume option.
2. Configure the Partition
In the Shrink options, you can select the amount of space that you want to shrink. Keep in mind that you have to enter the amount in MBs. Also, make sure to enter an amount that’s a bit higher than the requirement. And, that will ensure that the new system runs smoothly on your device. Once you’re done, click on the Shrink option given at the bottom.
Installing the New System on Your PC
The installation procedure is quite simple, regardless of the system you’re installing. First, you have to restart your PC with the bootable USB in the port. This should open the setup program on your screen. Now, the steps after that might differ depending on the system you’re installing. In any case, the on-screen instructions should help you complete it successfully without any issue.
How to Choose the Best Software for Your Computer?
While choosing a new system for your computer, you must do so wisely. Consider what it has to offer before you decide to install it on your device. Now, there are some essential considerations you must make to choose the right software.
Security is the most important aspect. The software that you opt for must provide your device with the optimal protection. Otherwise, it won’t matter even if it offers you 100+ great features. After all, cyber security is a growing concern among computer users.
Apart from that, you’d also want the software to have an easy-to-use interface. You’ll find many operating systems out there with interfaces similar to Windows or Mac. Also, you might want to make sure about the productivity of the software as well. Nobody would like software that takes a long time to learn. Needless to say, it must also be compatible with your device.
Get a Portable Operating System
Lack of space on your computer? And, failing to run two systems on it? There is much operating software available out there that allows you to use them in portable form. In case you’re wondering, that means you can carry them around on a USB drive. To boot the software, you must simply connect the USB to your computer’s port.


Leave a Reply